© Bunkerpictures
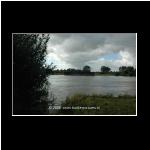
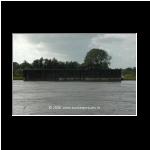
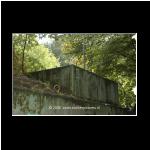
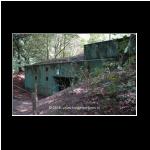
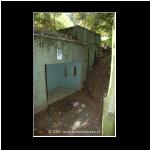
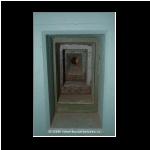
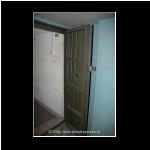
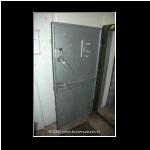
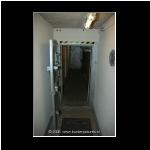
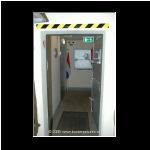
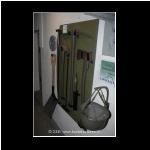
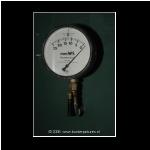
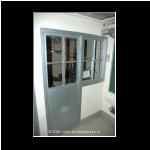
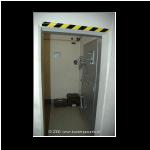
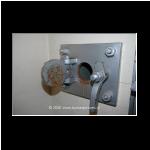
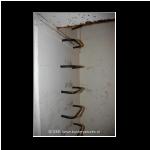
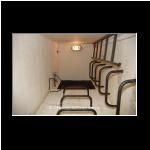
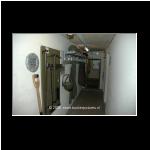
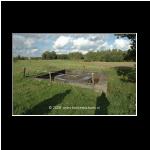
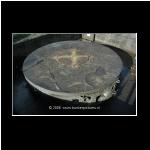
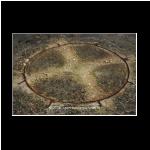
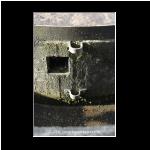
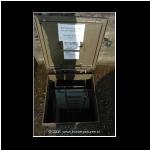
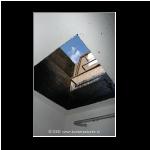
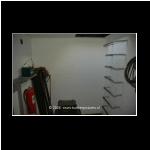
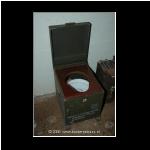
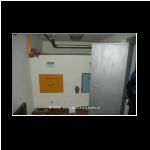
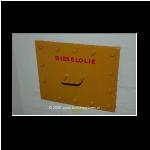
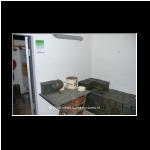
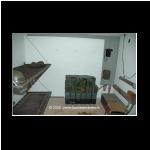
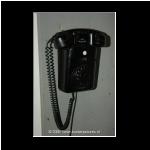
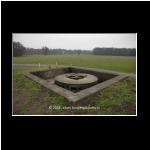
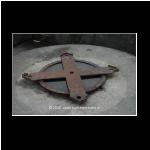
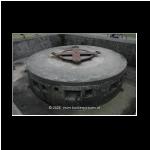
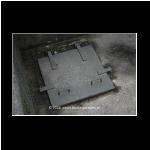
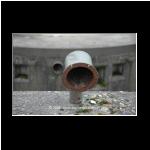
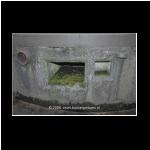
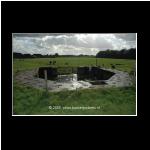
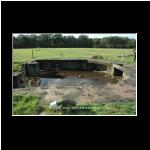
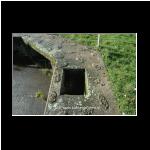
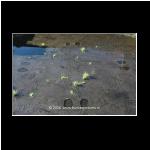
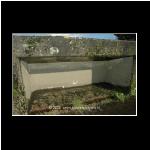
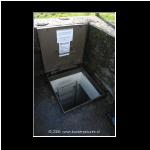
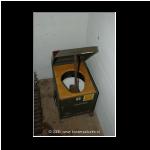
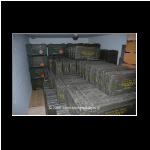
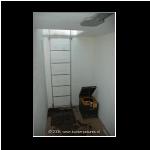
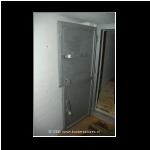
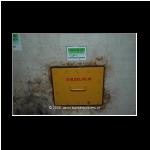
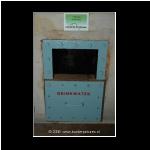
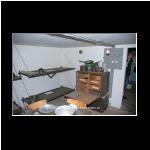
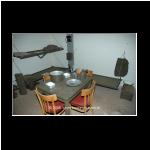
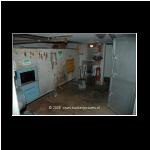
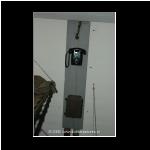
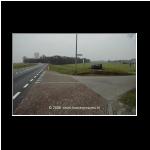
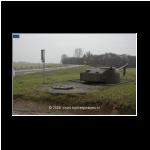
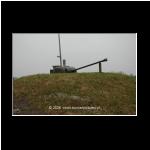
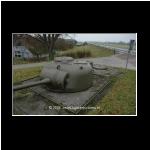
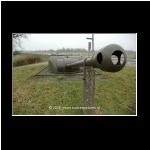
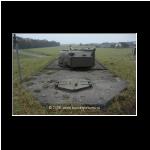
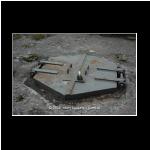
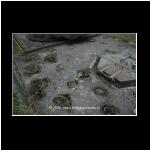
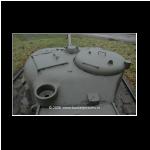
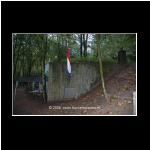
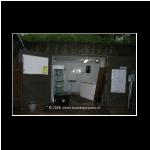
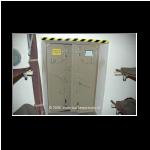
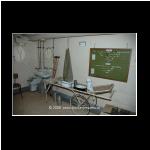
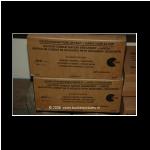
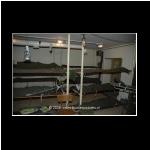
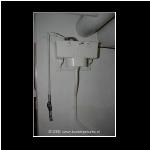
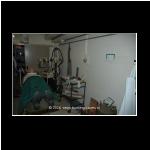
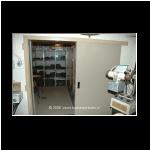
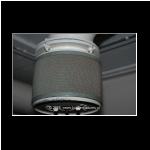
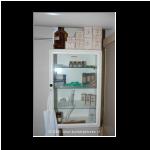
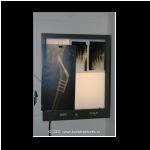
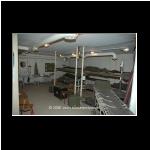
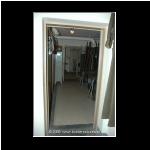
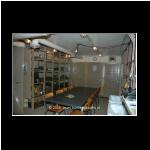
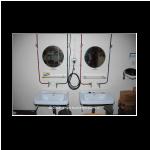
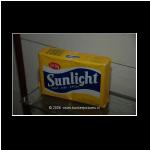
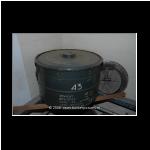
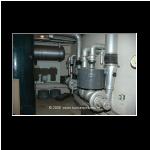
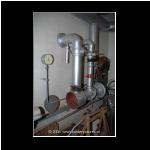
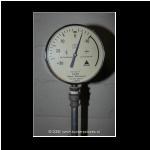
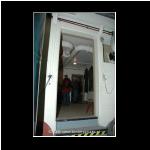
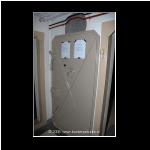
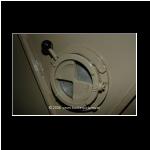
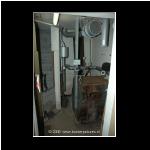
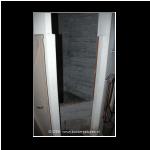
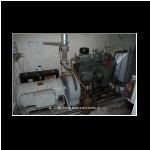
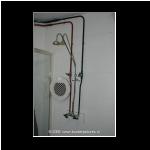
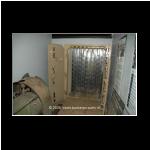
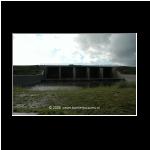
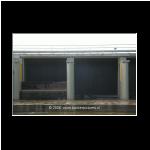
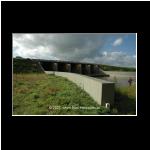
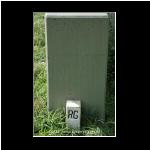
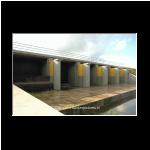
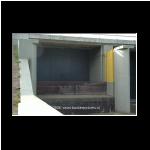
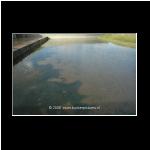
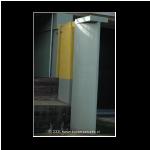
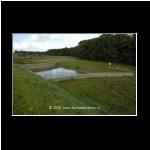
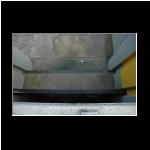
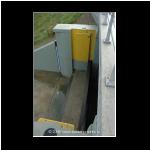
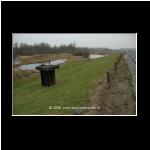
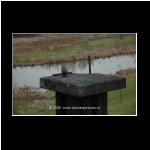
Holland, Overijssel, Olst - Dutch Cold War IJssellinie.
Holland, Overijssel, Olst - Dutch Cold War IJssellinie.
Created by IrfanView